ZX81/TIMEX-SINCLAIR 1000 Custom Mechanical Keyboard Prototype - Part 1

In this two part post I will share every step of designing and building a prototype mechanical keyboard for my TS-1000. There are two free online tools mentioned in this part that will help you design and build your own custom keyboards. Part 1 will cover the design and manufacture of the acrylic key switch mounting plate up to the test fit of the key switches.
Part 2 covers the designing of the key cap labels in Inkscape, applying the labels to the plain key caps, and lastly the wiring of the key switches and connecting the keyboard to the TS-1000.
My History With The ZX81's Infamous Membrane Keyboard
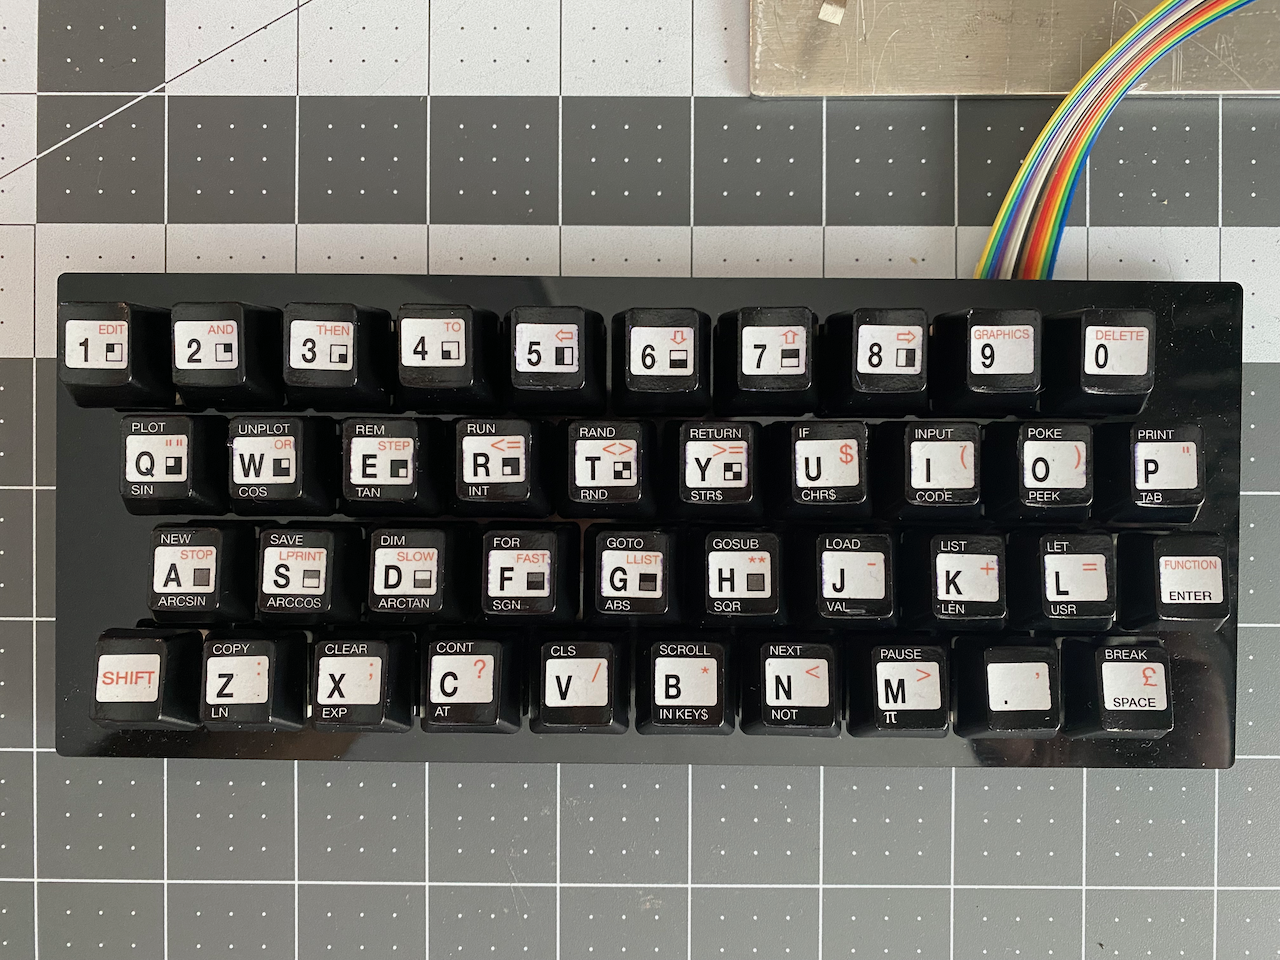
The ZX81 was the first computer I ever owned. It was a moment of bittersweetness when I opened the box that contained my Zeddy, excited to finally have a computer that I could call my own, and use whenever I wanted, but extremely disappointed when I finally held it in my hands and saw how small it actually was. Even for a thirteen year old who hadn't hit his growth spurt yet, keying in BASIC programs on the tiny membrane keyboard was not a thing of joy.
Before obtaining my Zeddy I had written BASIC programs on computers like the Atari 400, the Atari 800, various TRS-80 models, and even on an IBM PC. The buckling spring keyboard of the IBM PC was by far my favorite, and up to the point in time in which I put my finger tips onto the membrane of the ZX81, the membrane keyboard of the Atari 400 was my least favorite. At least the Atari 400's keyboard was sized such that you had room for your hands to be at the home keys.
After owning and using my Zeddy for awhile, I came upon an article in one of the electronics magazines my father subscribed to on how to connect a real keyboard to a ZX81. I talked my father into ordering an un-encoded bare keyboard, a metal case, power switch, and all the required parts, ribbon cable, etc. from the article's parts list to mount my Zeddy into the metal case and connect a real keyboard to it.
Once everything arrived, I went at it with such enthusiasm, almost obsession! I was going to have a real keyboard to program on! But some combination of my youth and inexperience must have caused me to make a mistake along the way, and when it came time to test out the keyboard it didn't work, in fact nothing worked anymore 😢. Looking back on it now, I may have fried a component through static discharge, or by connecting +5VDC or ground to the wrong place causing a short circuit. Whatever the case may have been, my Zeddy, the keyboard, case, and all of the remaining parts went into an office file storage box for me to revisit when I was better prepared to get it working again.
As time went on with my failed project slowly being forgotten in that file box, I started surfing, and girls had become much more interesting. Before I knew it, I was at the California Maritime Academy studying Marine Engineering and spending all of my spare time surfing, chasing girls, partying, and writing my own programs in PASCAL the two original IBM AT computers that CMA had in the computer lab (both of the IBM AT's had the super clickity, tacktile, Model M buckling spring keyboards that I really loved).
Vengence Is Mine!!! A Heartfelt Thank You To The Open Source Community
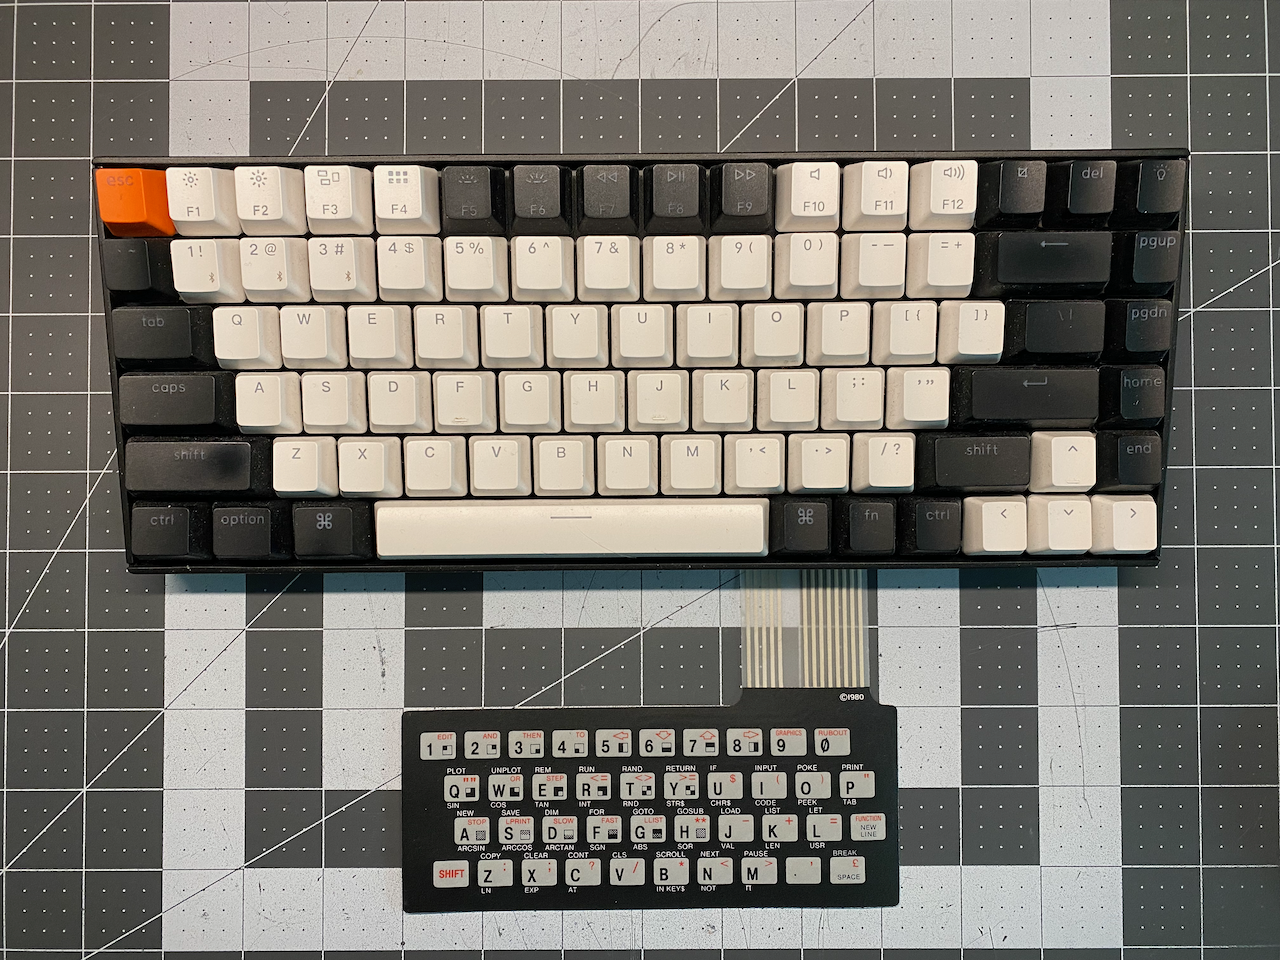
Back in June of 2021, I purchased an assortment including a ZX81, a TS-1000, and accessories in an unknown state of operation for my brother and I to tinker with. The first thing I needed to do, since I do not own a television set or monitor with an RF input, was to do a composite video mod on both computers. I wrote two posts on my blog about the composite video mods, part 1 is on the TS-1000, part 2 is on my brother's ZX81. Being able to see output from both computers now, the next priority was to try and make better keyboards to replace the membrane keyboards.
Originally, I was looking around online to purchase another un-encoded keyboard, like the one I tried to interface to my original Zeddy back in the 80's. Something that I could wire up by soldering wires between the switches of the keyboard assembly, but I wasn't finding anything to my liking. What I did come across was the massive community of mechanical keyboard enthusiasts. There are a lot of YouTube videos and blogs on building customized mechanical keyboards, everything from specialized keycap sets, to using different types of mechanical switches with different spring forces, "clickiness", and depth of actuation. Some videos show people using dye sublimation to make their own custom keycap labels, and some even molding their own keycaps out of resin, or even 3D printing shapes and figures on top of custom keycaps.
KLE - Free Online Keyboard Layout Editor
Seeing all of the excitement and creativity around custom mechanical keyboards, I was inspired to make a custom mechanical keyboard for my TS-1000. In my searching and learning about the tools of the trade in the world of custom keyboards, I encountered what the community simply calls "KLE" an acronym for "Keyboard Layout Editor". You can start with a standard keyboard layout or from nothing, and graphically swap out, add, or remove keys to create your own custom keyboard layout.
The graphical layout editing features of KLE are awesome, allowing you to see what you are building and how it should look when it's done. You can edit keycap colors, text position and color, key sizes, and key positions. I will not go into detail about all that it does, or how to do it in this post, only enough to show where I went to make my layout, and where to go to make your own.

The ZX81 layout that I created is accessible online for free for anyone to use or create variations from at ZX81 Default.
Once you have a layout, open the "</>Raw data" tab mid-page to show a JSON text representation of the layout, where each row from top to bottom is an array with each key being an element.
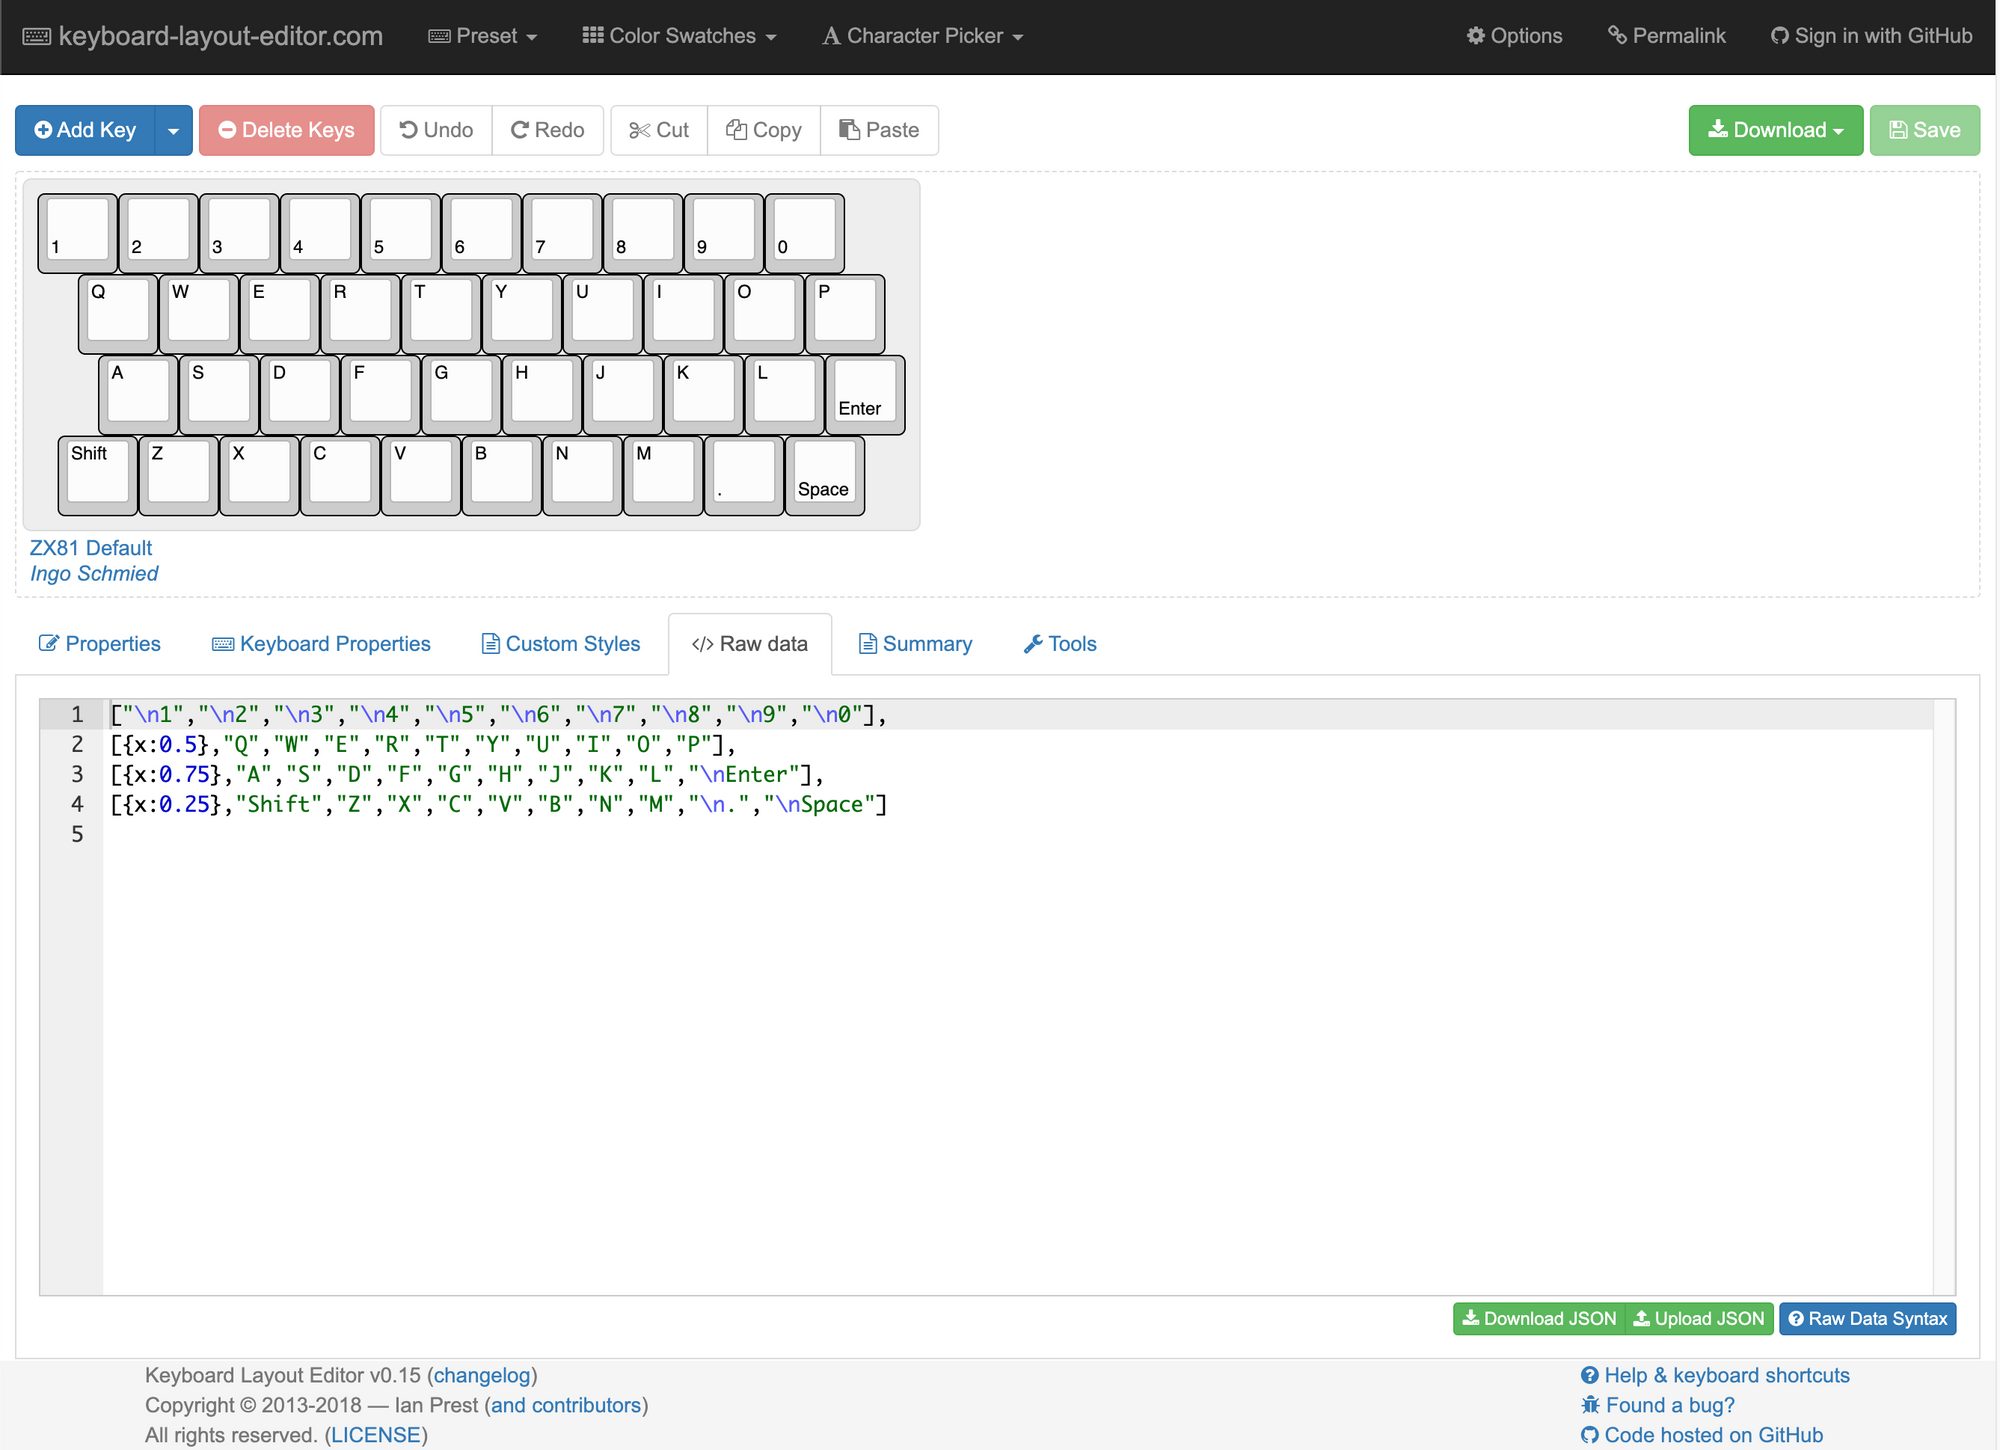
["\n1","\n2","\n3","\n4","\n5","\n6","\n7","\n8","\n9","\n0"],[{x:0.5},"Q","W","E","R","T","Y","U","I","O","P"],[{x:0.75},"A","S","D","F","G","H","J","K","L","\nEnter"],[{x:0.25},"Shift","Z","X","C","V","B","N","M","\n.","\nSpace"]To make a cutout pattern for a mounting plate of the key switches in this layout, copy all of the JSON above (or from the linked KLE page) to your clipboard or save it as a .json file on your computer and then open up swillkb's Plate & Case Builder.
Plate & Case Builder by swillkb
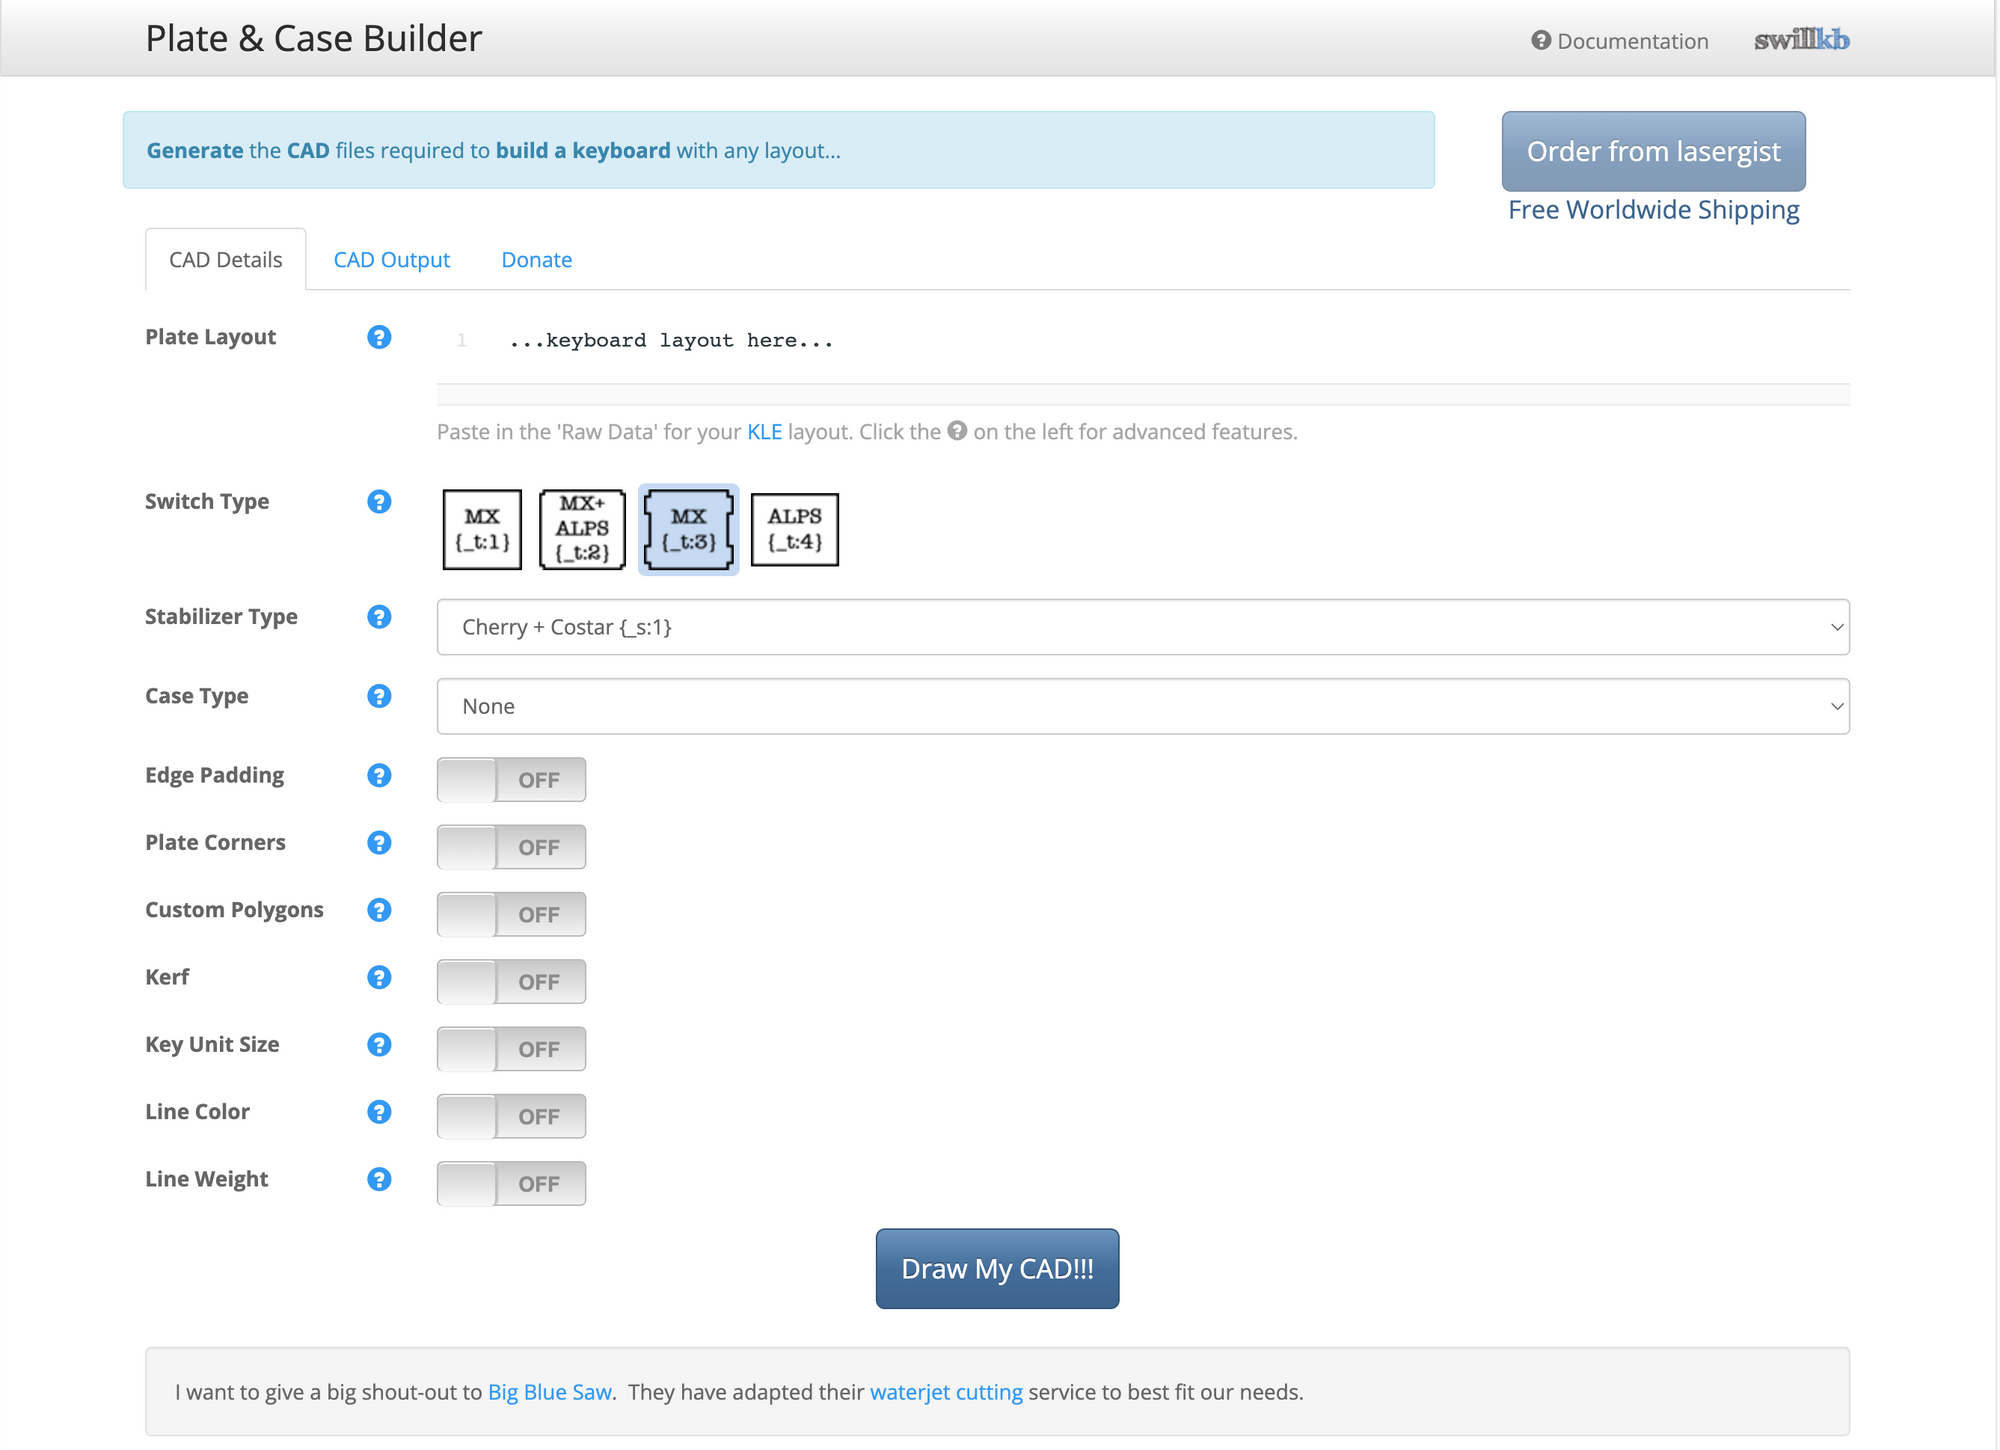
The Plate & Case Builder page is divided into tabs, and on the first tab, "CAD Details", the very first input is where you would paste your JSON data. Next, you select the switch type, the stabilizer type (the ZX81 default layout doesn't use larger keys like large "Enter" or "Space" keys, so no stabilizers are needed).
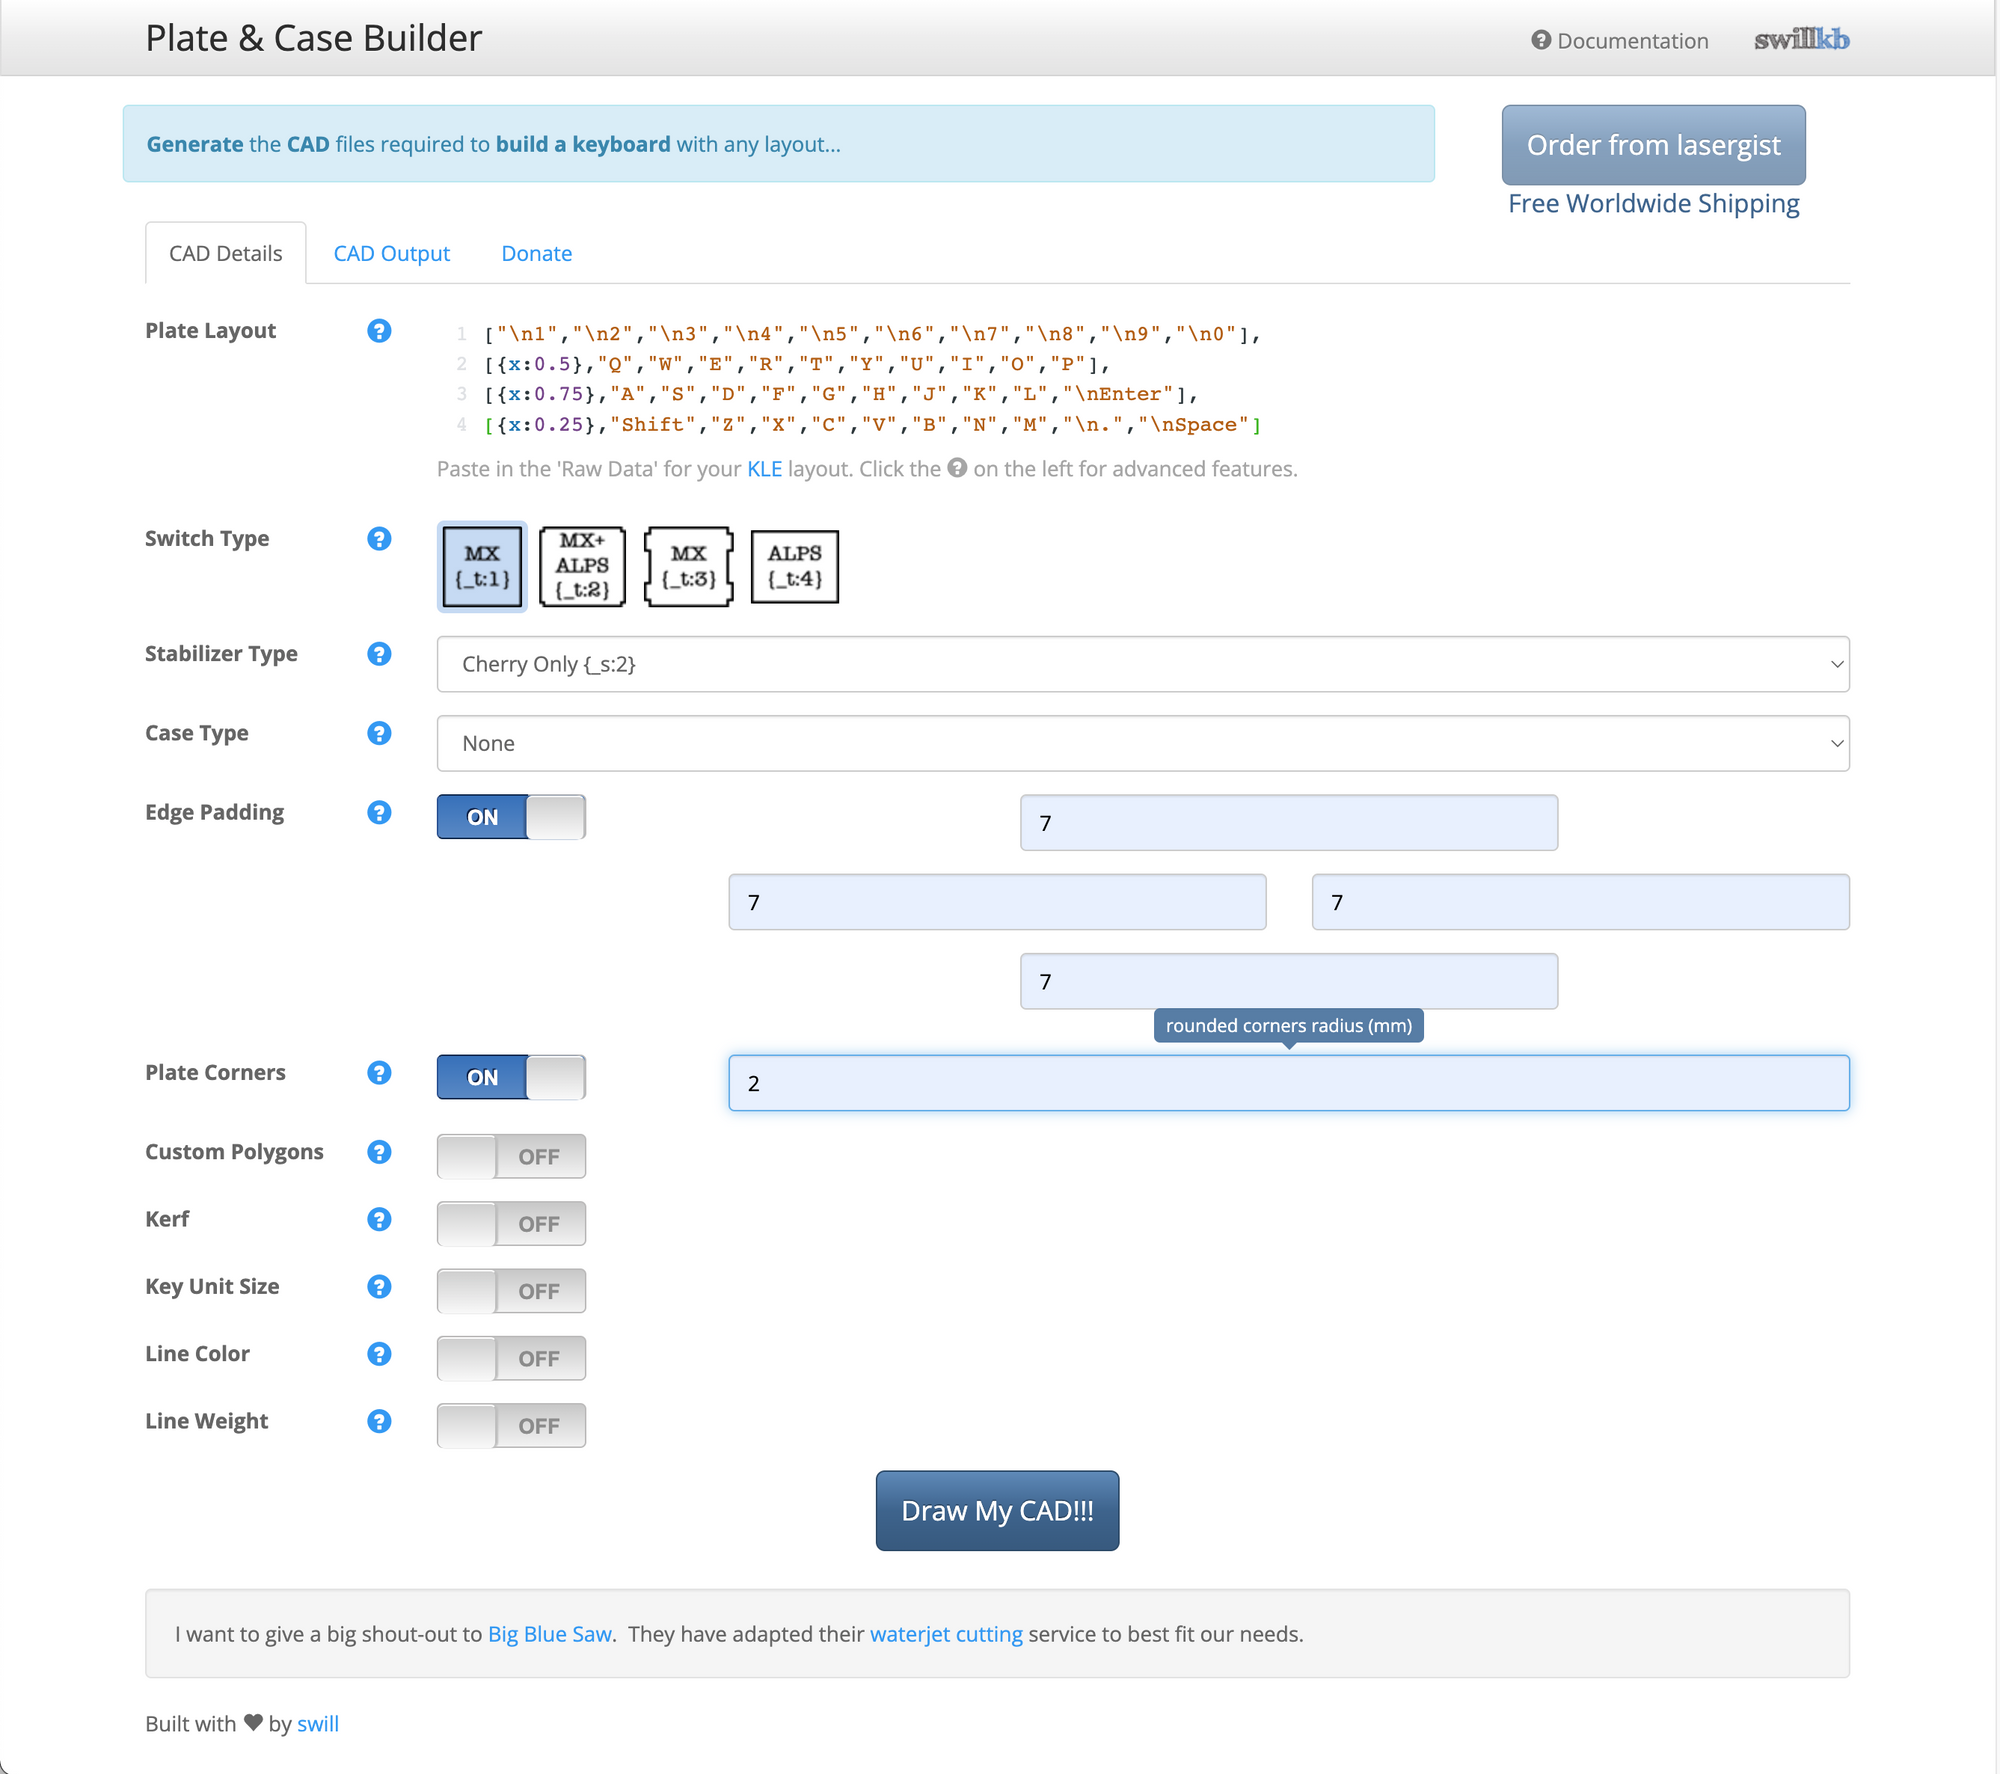
Edge padding can be set, corner radii can be entered, and other features. Once all of the desired information has been entered you can click the "Draw My CAD!!!" button at the bottom of the page which will take you to a preview of your layout including all of the dimensions of the plate. There are buttons which you can click to download a file in any of three formats, SVG, DXF, & EPS.

I selected the DXF format, and depending on the format that will work best with what you want to build a plate from, there are the other two formats to chose from. At the very top right of the page is a button to order your plate from lasergist, so even if you don't own your own 3D printer, CNC mill, or laser cutter, you can have someone else make it for you. Since I don't own a 3D printer, CNC mill, or laser cutter (yet, LOL), I would have ordered my plate from lasergist, but I did something different...
Support & Get Involved In Your Local Makerspace!
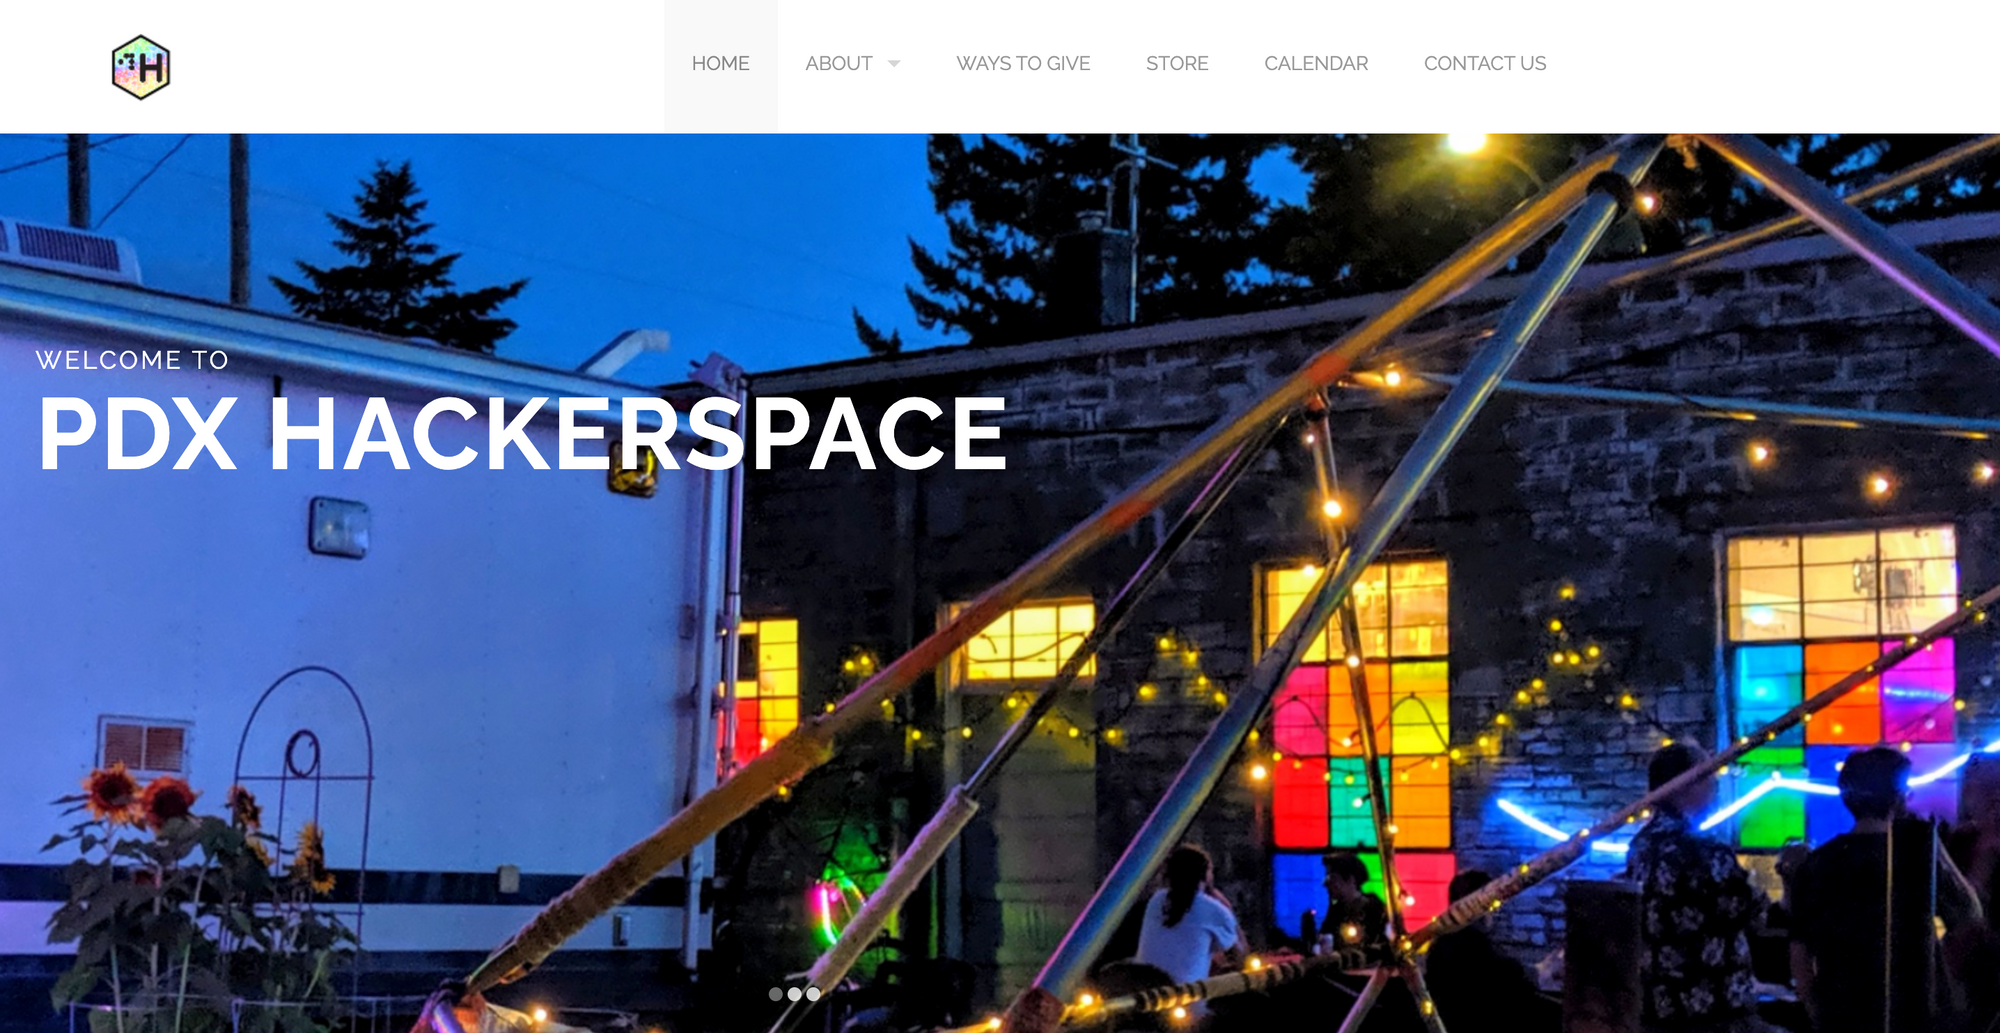
When I lived in the Pacific Northwest, I joined a hakerspace in Portland, Oregon, Ctrl^H PDX Hackerspace. I didn't live there long enough to really get a lot out of my membership, but the time I spent there was very inspirational, and instilled in me a new sense of community with like-minded tinkerers and makers. If you live in or near Portland, Oregon, I highly recommend checking them out on one of their open-house nights.
One of the first things I did when I moved to the Capital District of New York State was to look for another hackerspace/makerspace, and I found something very cool, The Tech Valley Center of Gravity in Troy, NY!
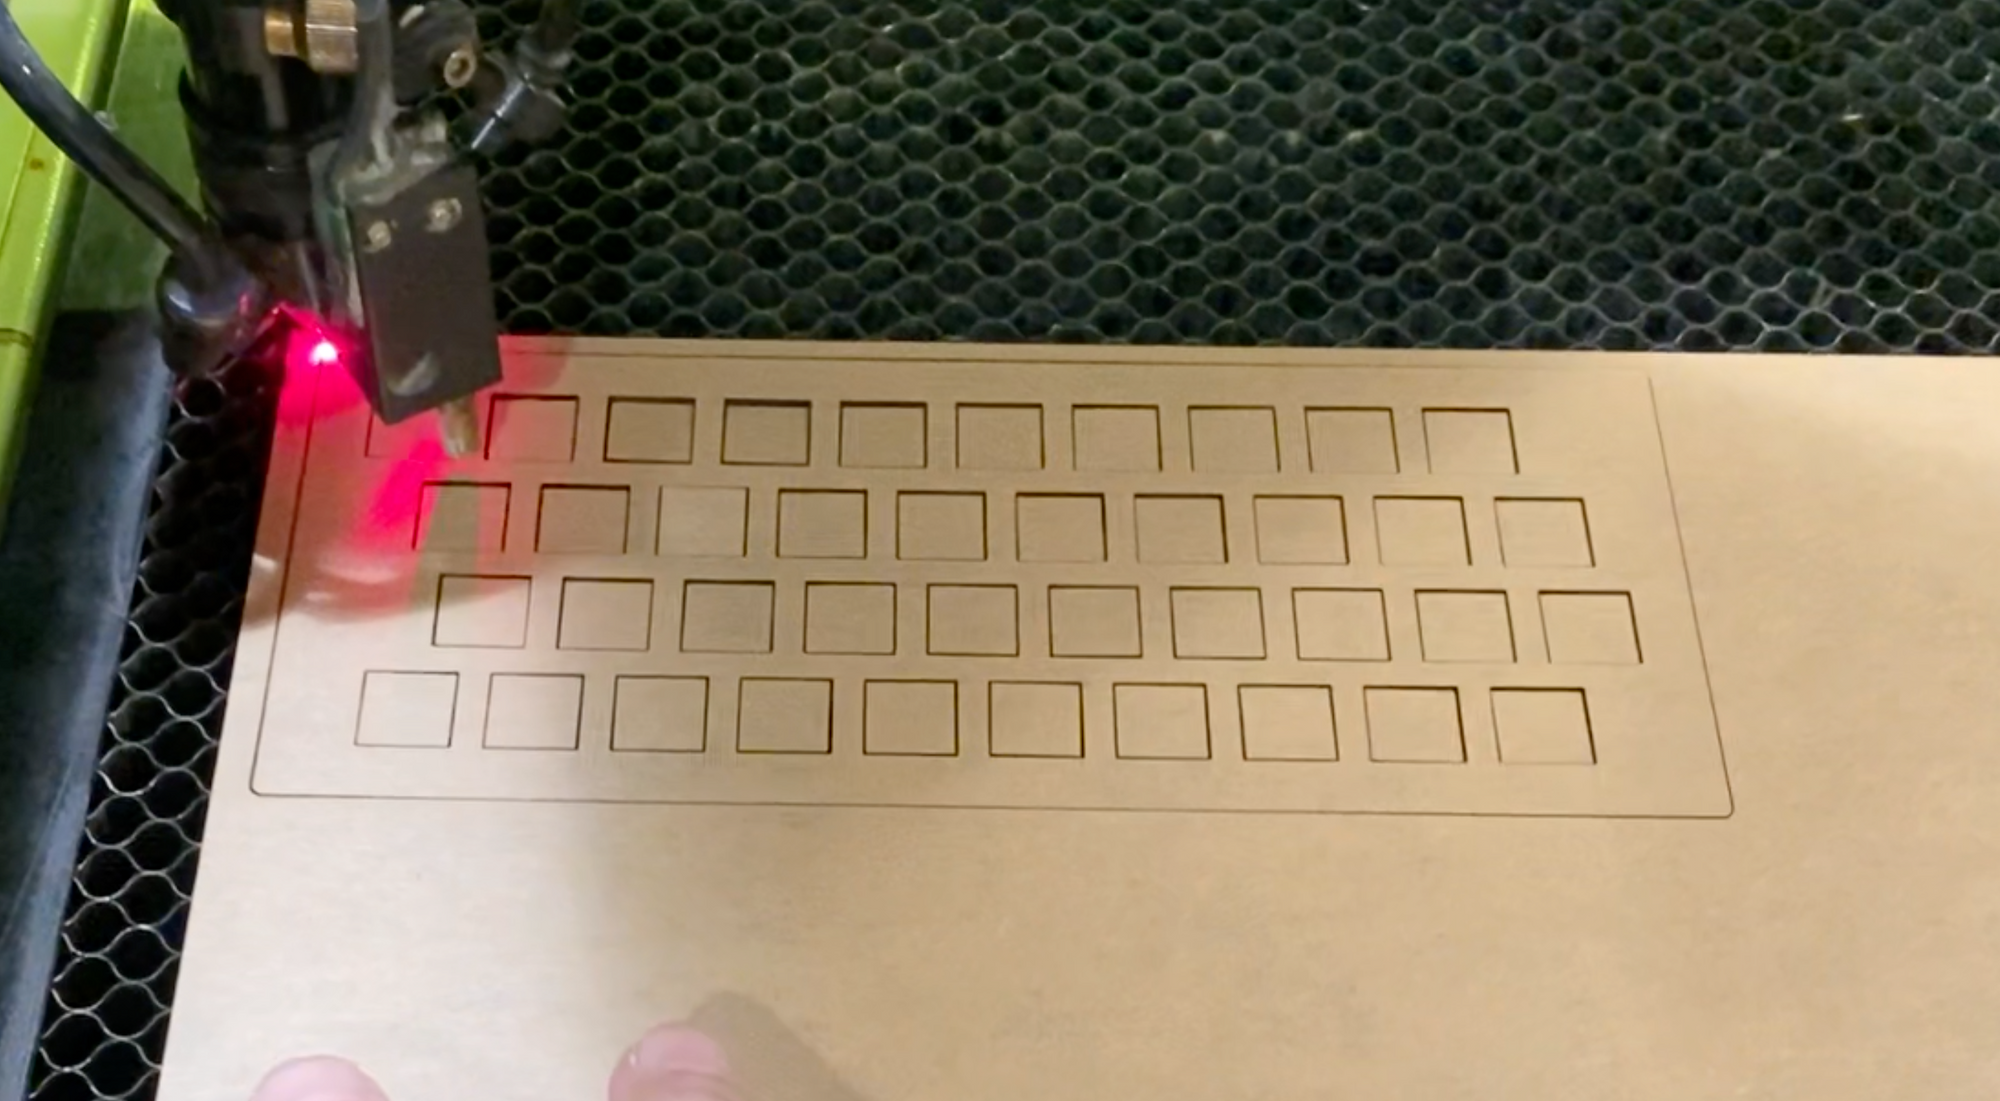
I signed up for the laser cutter orientation class where you learn about laser cutting, and how to do it safely by making a custom cut and etched LED illuminated acrylic sign. I then purchased a few sheets of 3mm thick black acrylic from Amazon to make my keyboard plate from, and I brought them along with my DXF file so I could cut the keyboard plate after class.
Key Switches & Key Caps
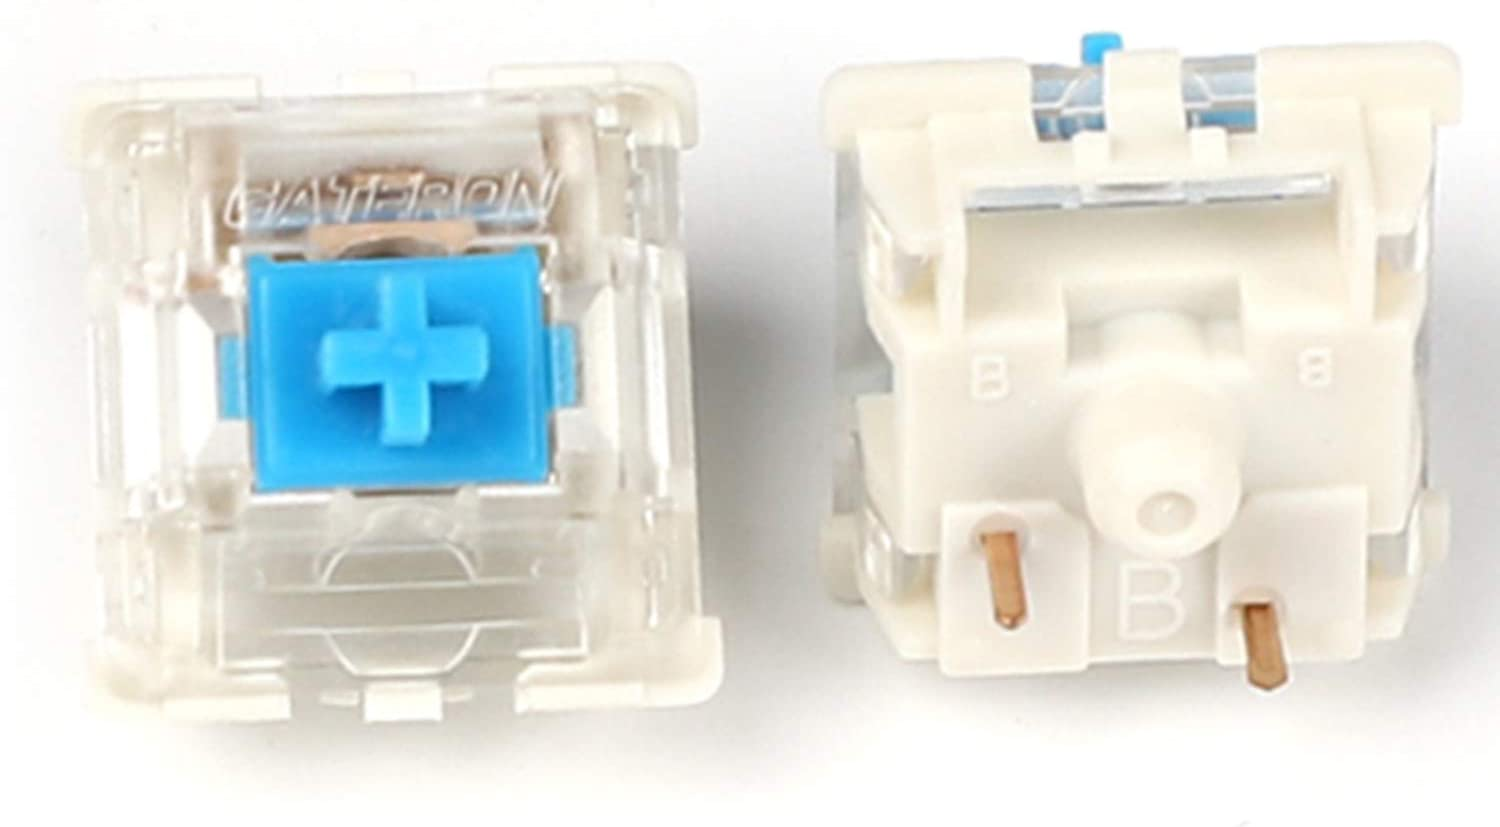
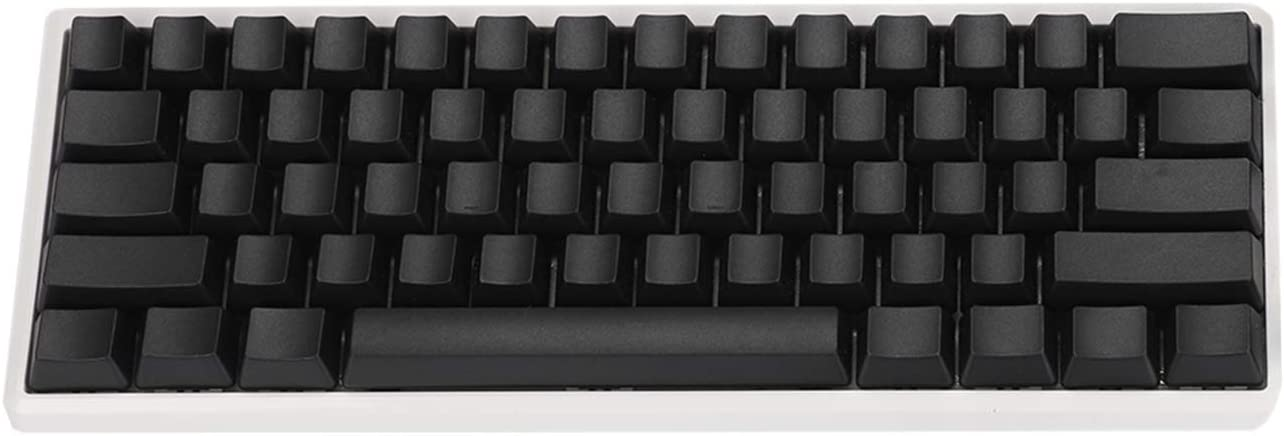
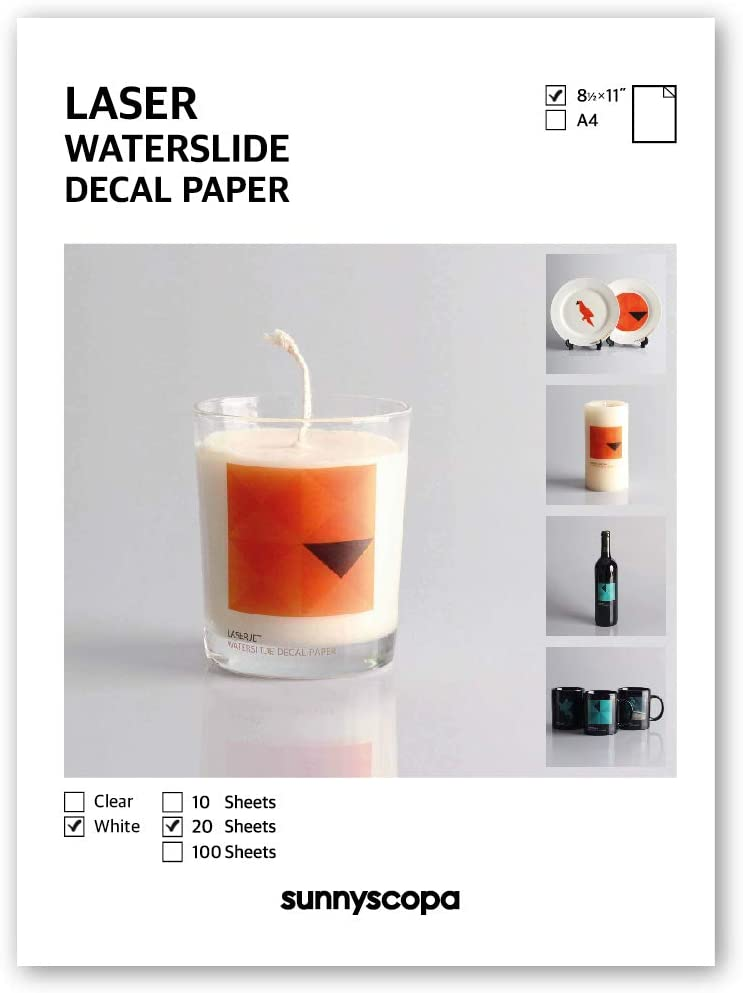
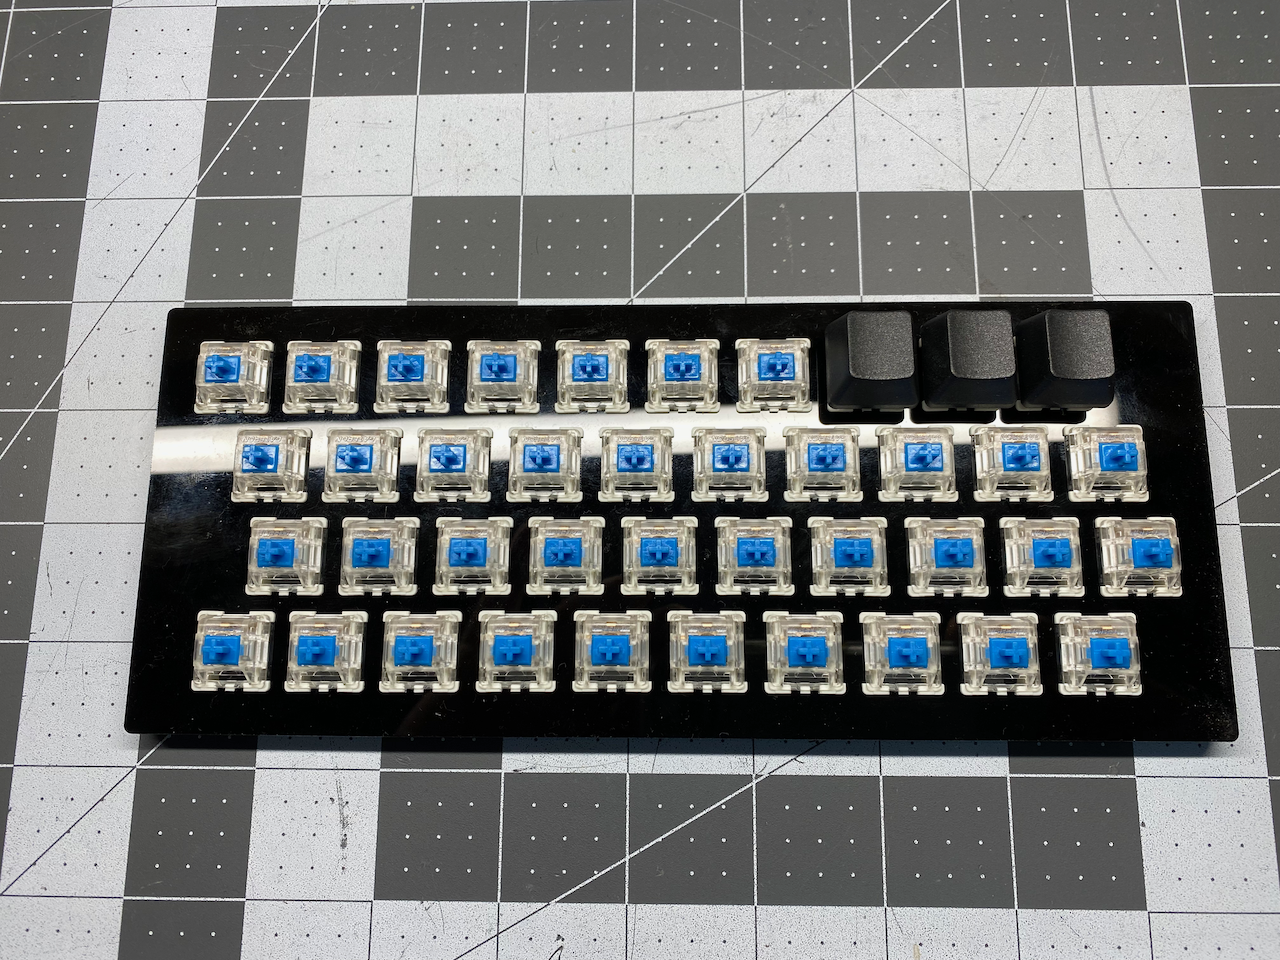
I purchased a bag of Gateron "Blue" switches, a set of plain black key caps, and laser printable white waterslide decal paper from Amazon with the intention of making my own ZX81 keycap labels. If you plan on making ZX81 key cap decals on top of black key caps, make sure to get waterslide decal paper that actually has a white backing, since most waterslide decal paper has a clear backing. There are decal papers for inkjet printers, and I have also seen printers that can use a white toner, but since I have a color laser printer that doesn't have white toner, the decal paper I chose was just what I needed.
Once I had the key switches, the key caps, and the laser cut acrylic plate, it was time for a test fit. The layout was perfect with just enough space between the key caps, and the switches fit with just enough resistance, not too tight and not too loose. Eventually I did use two dots of super glue per switch in opposing corners to keep everything in place before I soldered the wires onto the switches (more about that in Part 2).
In part 2, I will cover the designing of the key cap labels in Inkscape, applying the labels to the plain key caps, wiring the key switches into the matrix, and lastly connecting the keyboard to the TS-1000.
Source Files
The files used to make the mounting plate in this post, and the decal file used in part 2 of this series are available on Github.
Amazon Affiliate Marketing
I don't use any paid advertising on my blog posts, I don't sell my subscribers information to anyone, and all of my time and expenses for self hosting my Ghost blog on Digital Ocean are out of my own pocket. I am doing this for the fun of it and to give back to the community of tinkerers, makers, and retro computing enthusiasts. I do hope that by the support of my subscribers I will someday be able to produce content more frequently.
This is the first blog post where I decided to try adding Amazon Affiliate Marketing links. If you click on any of the image links below, you will be redirected to that item on Amazon's web site, and if you purchase something I will get a small commission on anything you buy during that visit. The price you see/pay is the same whether or not you get there via my links.
I also posted these Amazon links to save my readers time in searching for the right products, as I spent countless hours scouring the Internet looking for the right products & solutions, not to mention a lot of time reading product reviews.
Lastly, if you haven't already subscribed to my blog, and you are interested in getting an email every month or so when I post new content, please click on the "subscribe" links in any of my posts.
Thank you!