DIY 8 Bit Computer Series - Part 1

This is the first post in a series that I plan to publish chronicling my ongoing experiences developing a retro 8 bit computer from scratch. My hope is that others will follow this series and realize that with all the information available on the Internet these days, they can do something like this as well.
Back in 2018, I became interested in building a custom 8 bit micro computer. I'm fairly sure that it started when I began watching videos on YouTube of people tinkering with digital electronics. I recall watching an inspirational series from Ben Eater where he builds an 8 bit breadboard computer based on the SAP-1 (Simple As Possible).
The SAP-1 is a simple minimal computer out of a book titled, "Digital Computer Electronics" by Albert Paul Malvino, Ph.D. and Jerald A. Brown. The book is no longer in print, but can be downloaded from the Internet Archive here under public domain.
I remember thinking that doing the same thing as Ben Eater would be really fun and extremely educational, but I also thought I would like to build more of a home computer with a full keyboard, display, floppy disk drive, etc. I spent some time weighing the pros and cons, and around that same time I saw a YouTube video by Julian Ilett titled, "Flashing LEDs - Z80 Style".
When I saw how straight forward it was to interface with an 8 bit microprocessor, and specifically the Z80, which was the processor that was in my very first computer, the Sinclair ZX81, I decided to try and build a complete retro 8 bit personal computer myself.

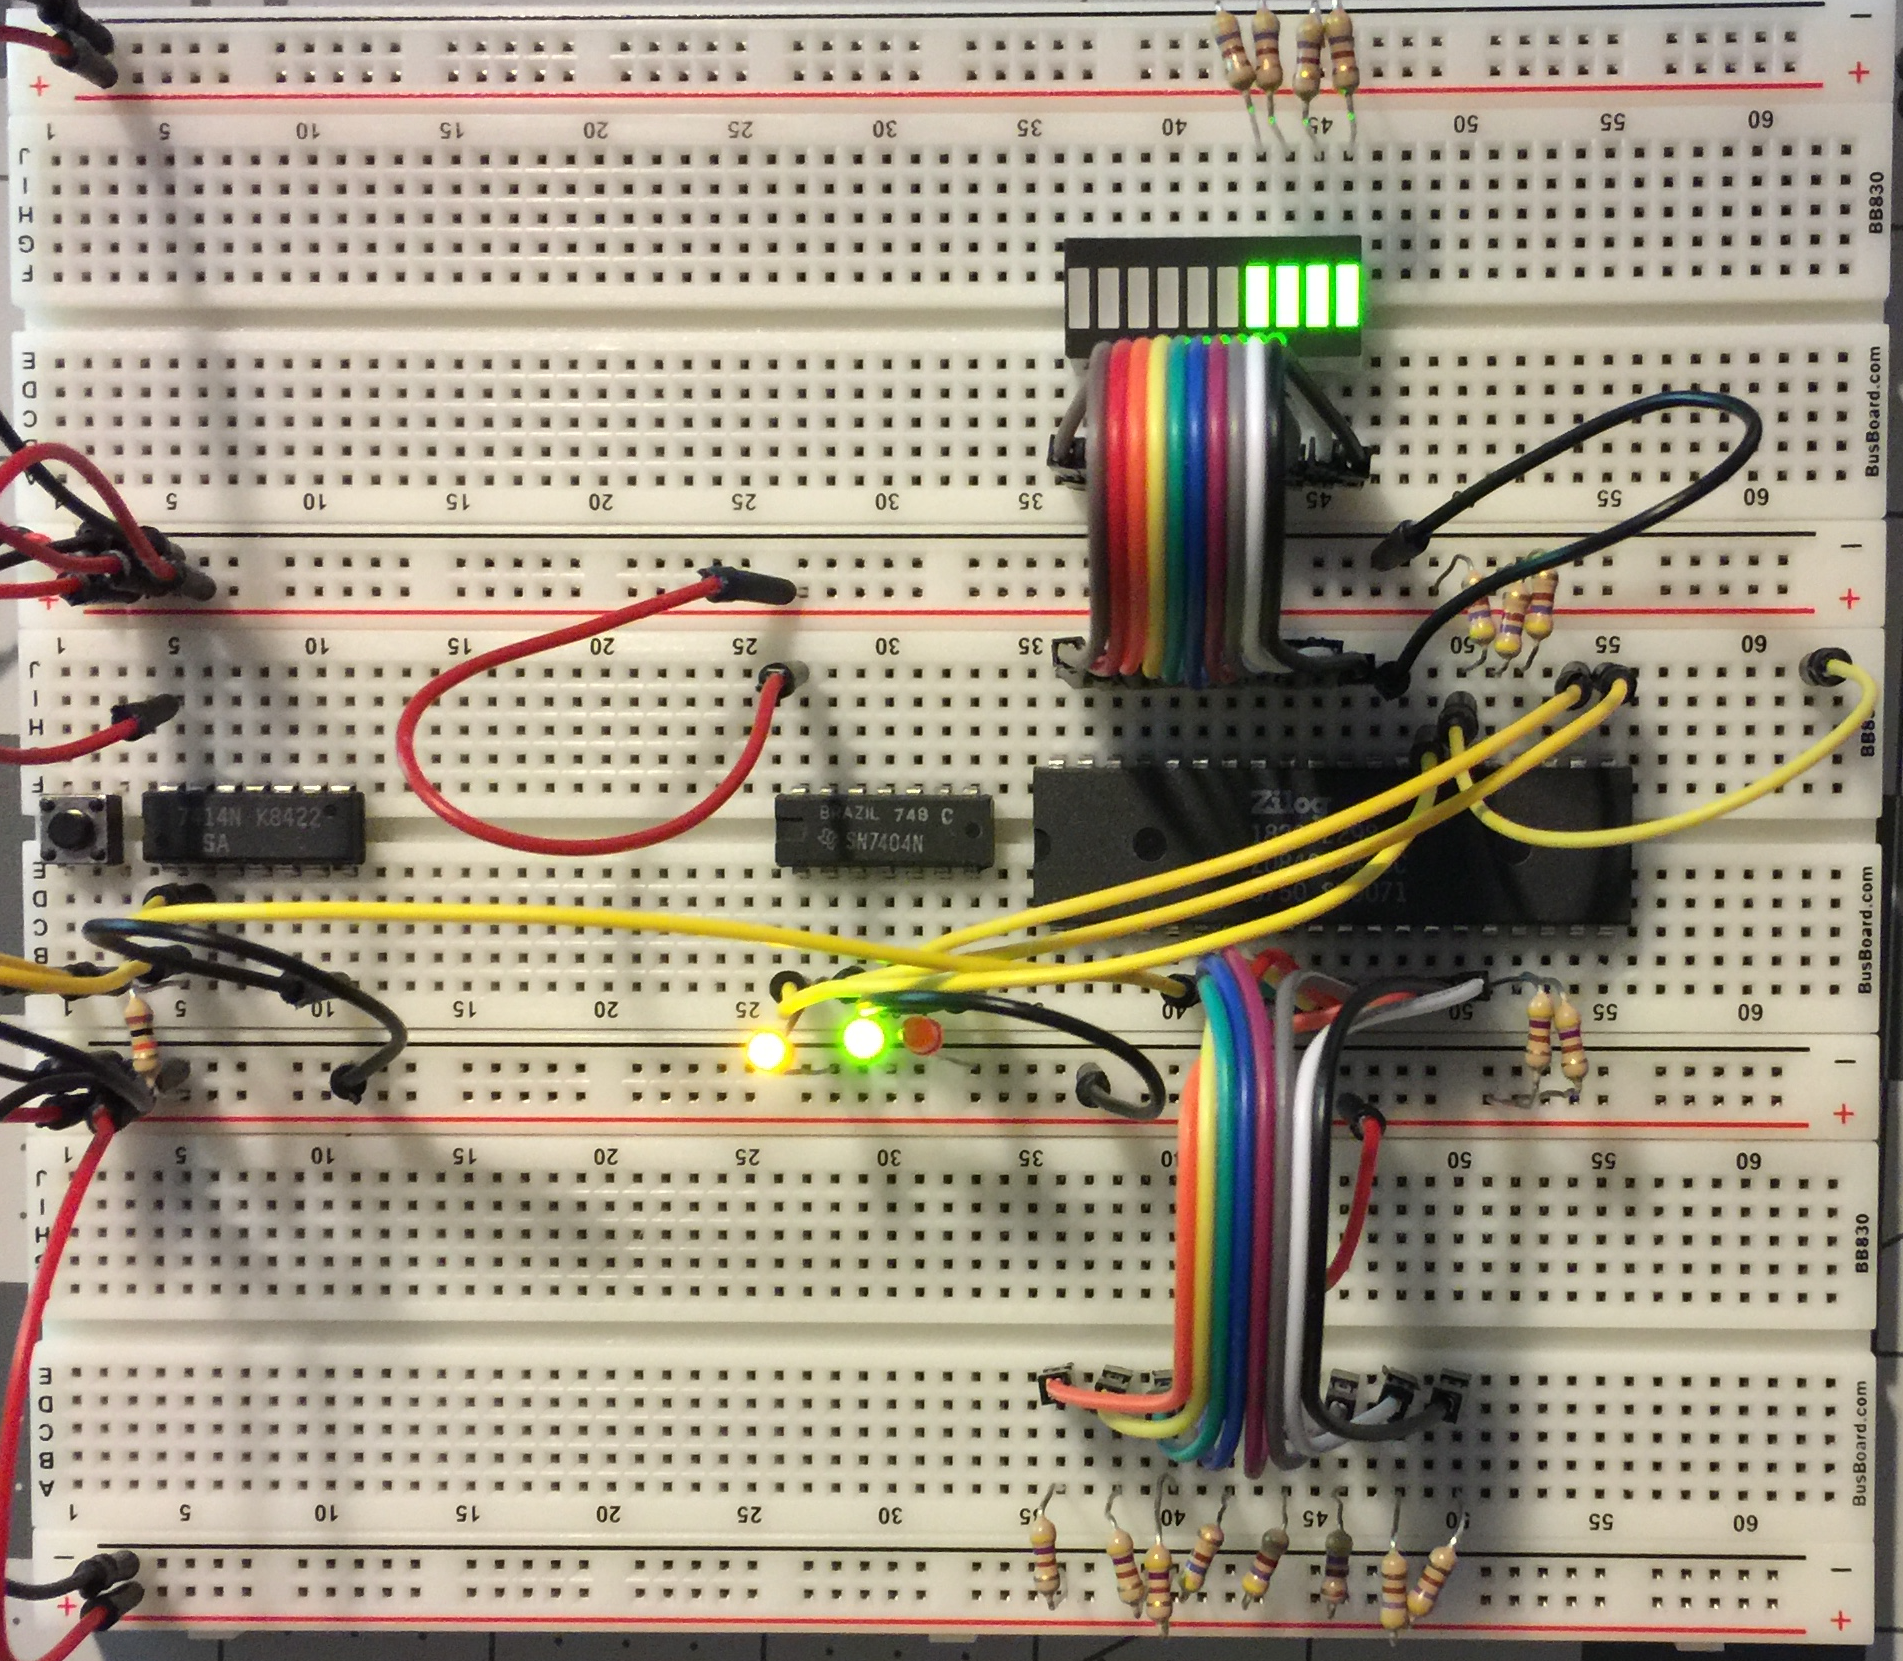
I bought a couple of Z80's, some new breadboards, and followed Julian Ilett's lead. The first time I breadboarded a Z80, I hooked it up to a manual pushbutton (not debounced) for its clock. Then I connected a bar graph LED to the least significant address bus lines A0-A3, so I could see the program counter incrementing. Eight 4.7kΩ pull-down resistors were connected to the data bus lines D0-D7 to feed the Z80 with NOP instructions (No OPeration). A yellow LED was connected to the M1 (Machine cycle 1) output, a green LED for the RD (ReaD) output, and a red LED for WR (WRite) output. All of the Z80 control inputs were pulled high to keep certain things like bus requests and interrupts from being falsely triggered, and a jumper wire that I could connect to ground to reset the Z80 with.
It wasn't a lot of effort, and it didn't require much experience, but did it ever get me excited to do more with that microprocessor!
I downloaded a PDF copy of the Z80 CPU User Manual and started learning everything I could about the Z80 microprocessor. Next, I connected LEDs to more of the Z80's control outputs, thereby seeing more of what was going on inside. Following along with the manual, I started learning how the Z80 fetches instructions from memory, and that is when I realized something was not right with my manual clock circuit. I promptly learned about switch de-bouncing circuits.

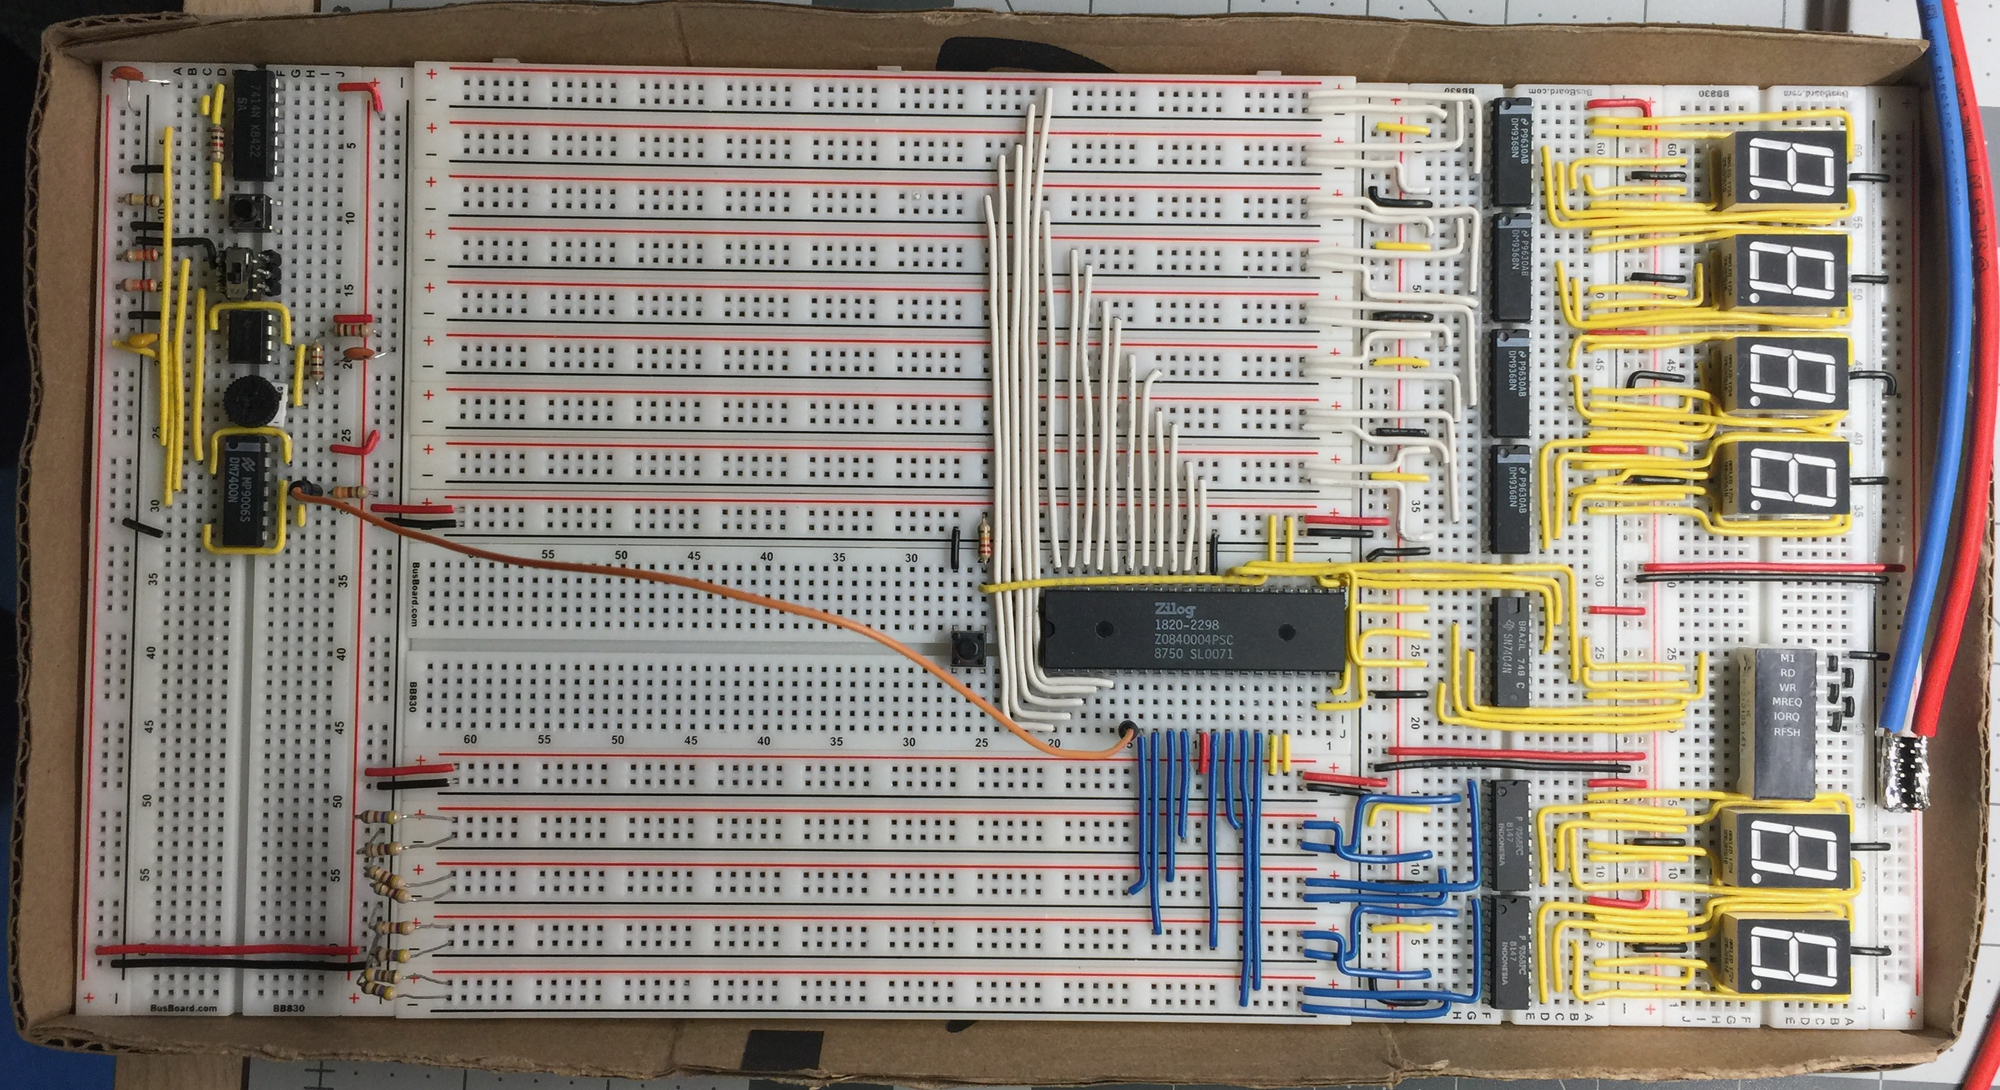
Soon thereafter I added a 555 timer configured as an astable multivibrator circuit, giving the Z80 an adjustable frequency clock. Guidance for building the adjustable clock was courtesy of Mr. Ben Eater and his thorough video, "8 bit computer clock - Part 1" from the playlist previously mentioned. I also added a slider switch to select between the manual single clock pulse circuit and the adjustable 555 timer clock circuit, similar to what Ben Eater did. With a manual clock and an adjustable clock the next thing this project needed was actual hexadecimal seven segment displays for both the address and data buses.

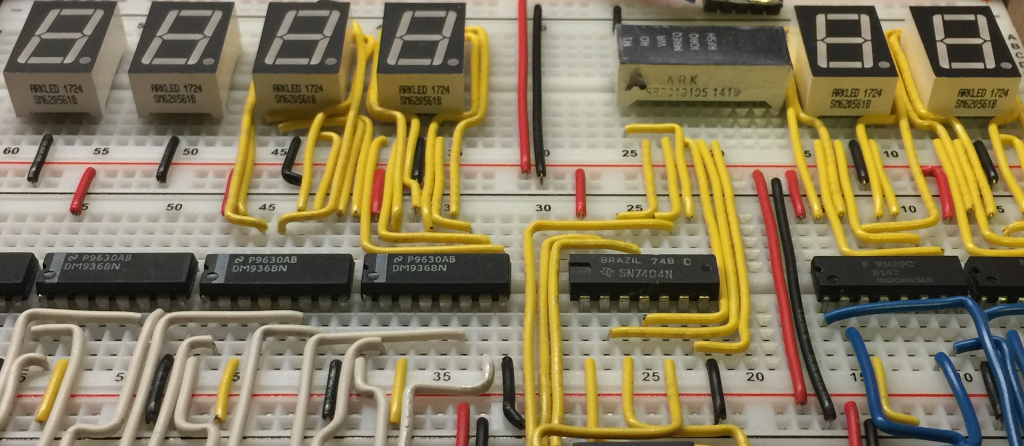
I did some searching on the Internet and was very disappointed to see that the only 74 series integrated circuits in production for driving seven segment LEDs would only display the digits 0 through 9. For hexadecimal, the characters A through F are needed to represent the decimal values of 10 through 15. After some additional research, I found the DM9368, which are no longer in production by the original manufacturers as far as I could see, but there are ways to get them on Ebay from various overseas suppliers. Other possible sources might be to salvage them from old equipment. The DM9368's aren't cheap, but they are exactly what I wanted for experimenting with.
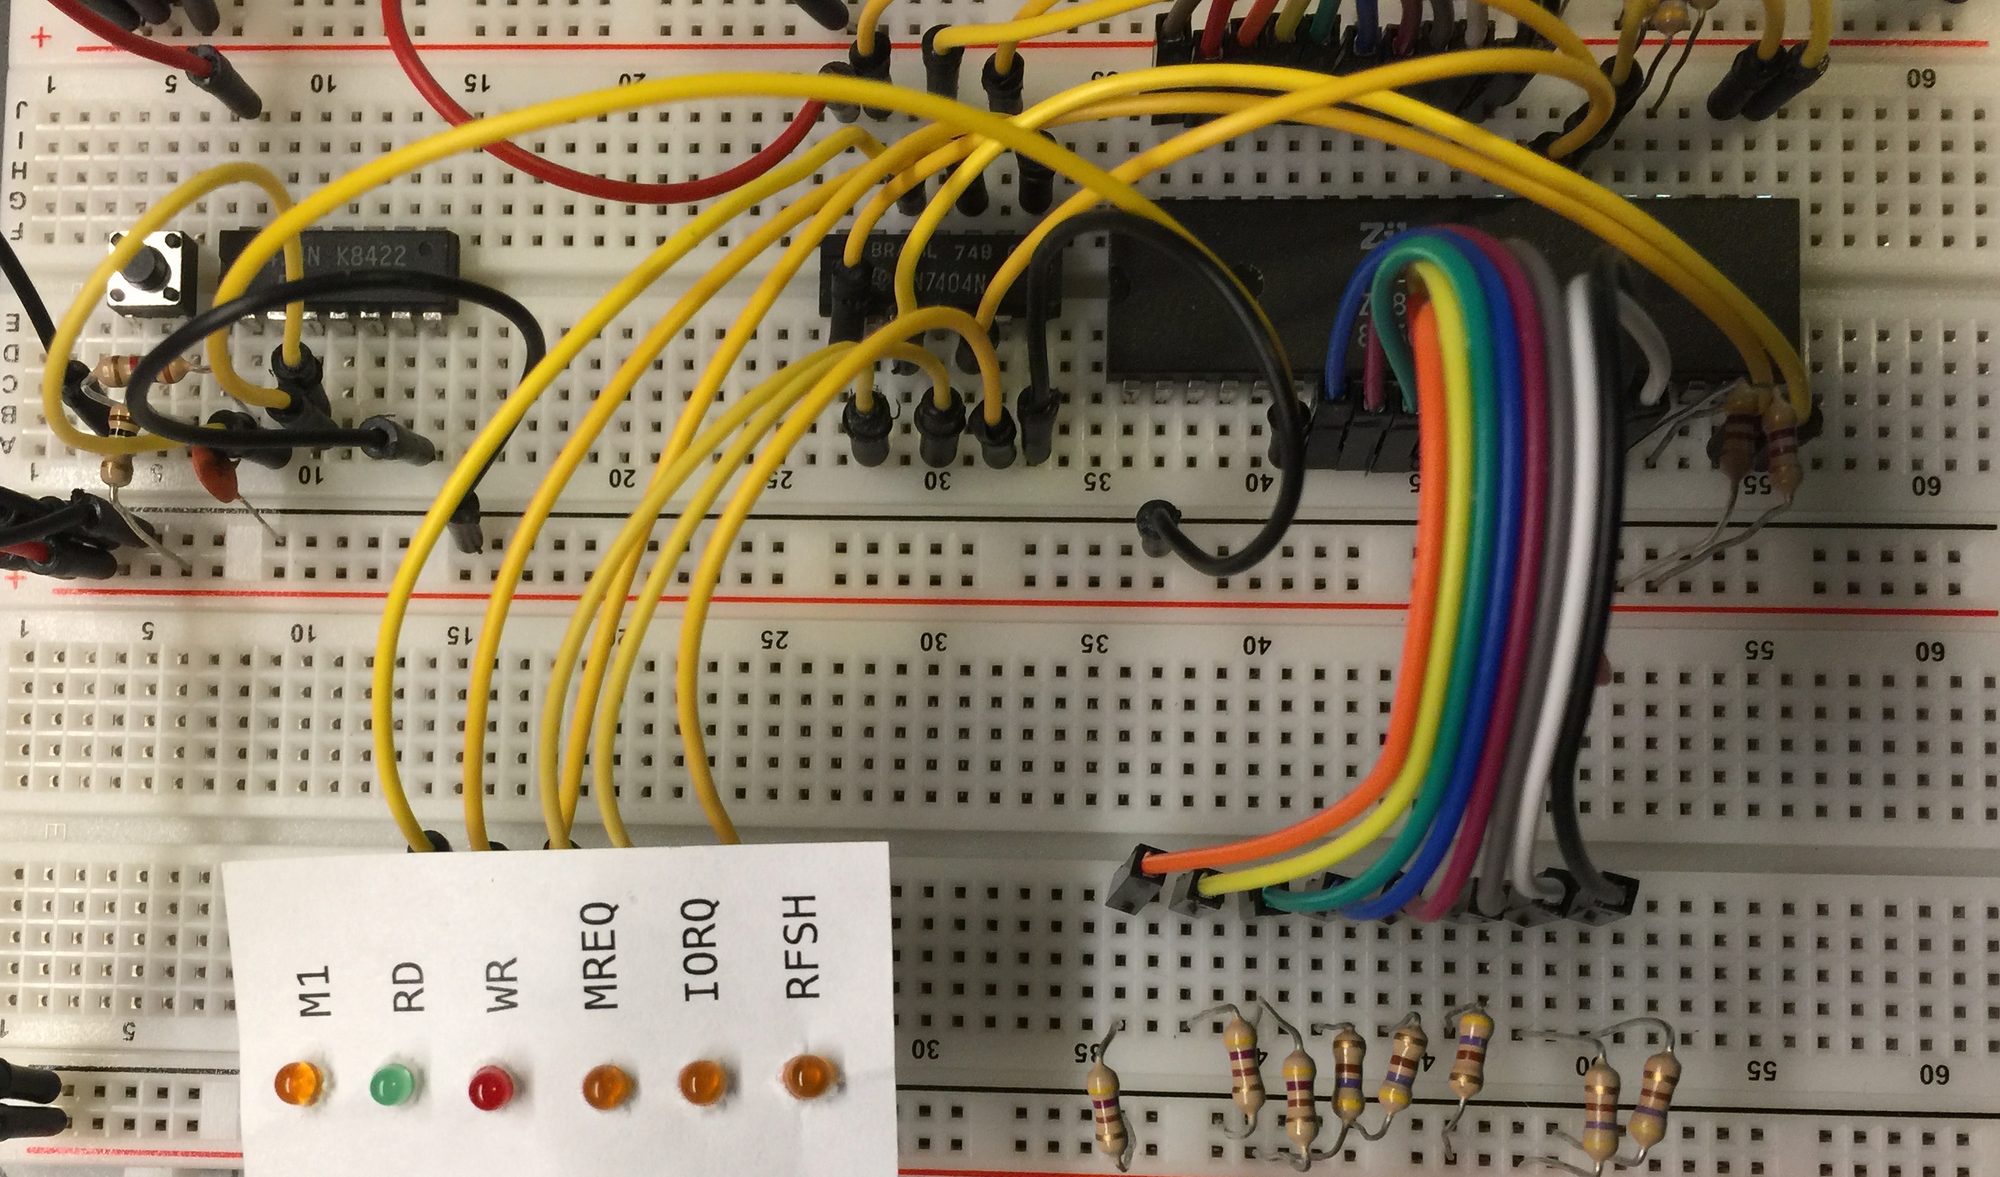
In addition to the seven segment LED displays, I added a bar graph LED with a printed label on top for the control signals M1, RD, WR, MREQ, IORQ, & RFSH. I made the label file in Inkscape to scale, printed it on my laser printer, cut out the label with scissors and used transparent tape to secure it to the bar graph LED body.
Another trick I learned from Ben Eater: A bunch of breadboard power rails to make a data bus and address bus. Originally, all of the wiring was with breadboard jumper wires until I was able to test it and knew that it was working. Then I cut, stripped, and bent each wire to fit flat on the breadboard.
With the microprocessor interfaced in this way, I could now watch every step of an instruction fetch cycle repeatedly and also see the program counter increment through the entire range of 65,536 memory addresses, or 64k of memory of simulated memory filled with NOP instructions. The next step would be to replace the resistors on the end of the data bus with a real memory chip.

